Voice-Controlling Your Home with ESP32 and Home Assistant via Google Assistant
Voice-Controlling Your Home with ESP32 and Home Assistant via Google Assistant
Ever wished you could turn off the lights without lifting a finger—or even getting out of bed? I certainly have, especially on those lazy Sunday mornings. That’s why I set out to integrate my ESP32-based smart devices with Home Assistant and Google Assistant, enabling voice control for my entire home. In this guide, I’ll walk you through the process step by step, sharing the pitfalls I encountered (and how to avoid them) along the way.
Why This Project?
Voice control isn’t just about convenience—it’s about accessibility and efficiency. By combining ESP32’s flexibility with Home Assistant’s powerful automation engine and Google Assistant’s natural language processing, you can create a smart home that responds to your voice commands effortlessly. Whether you’re a seasoned DIY smart home enthusiast or just starting, this project is a great way to dip your toes into home automation.
What You’ll Need
Before diving in, gather these components:
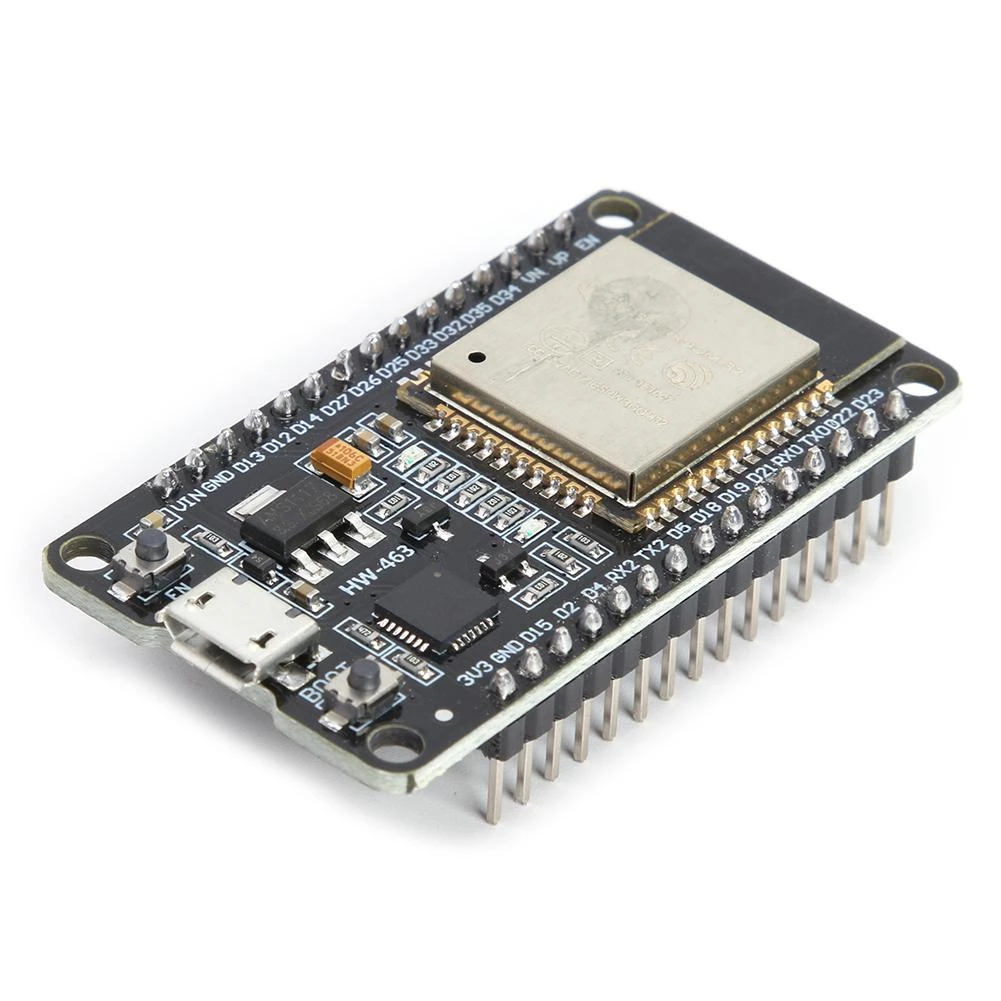
- ESP32-DevKit board: Buy it here
- Home Assistant Instance – Running on a Raspberry Pi, NAS, or a dedicated server. If you’re new to Home Assistant, check out my guide on setting it up.
- Google Account – For linking Google Assistant.
- ESPHome – A fantastic tool for managing ESP32 firmware. Install it via Home Assistant’s add-on store.
- Micro-USB Cable – For flashing the ESP32.
- Smart Home Devices – Lights, plugs, or sensors you want to control (optional but fun).
Step 1: Flash ESP32 with ESPHome
First, we’ll prepare the ESP32 to communicate with Home Assistant using ESPHome.
Install ESPHome
If you haven’t already, install ESPHome via Home Assistant’s add-on store:
- Navigate to Settings > Add-ons > Add-on Store.
- Search for “ESPHome” and install it.
Create a New Device
- Open ESPHome’s web interface and click + New Device.
- Follow the prompts to name your device (e.g.,
living_room_light) and select your ESP32 model. - Click Next and connect your ESP32 via USB. ESPHome will detect the port automatically.
Basic Configuration
Here’s a minimal YAML configuration to get started. Replace your_wifi_ssid and your_wifi_password with your credentials:
esphome:
  name: living_room_light
  platform: ESP32
  board: esp32dev

wifi:
  ssid: "your_wifi_ssid"
  password: "your_wifi_password"

# Enable logging for debugging
logger:

# Enable Home Assistant API
api:
  password: "your_api_password"

ota:
  password: "your_ota_password"
Flash the Firmware
- Click Install and choose Plug into the computer running ESPHome Dashboard.
- Wait for the firmware to compile and flash. Once done, your ESP32 will connect to Wi-Fi and appear in Home Assistant.
Stop wasting your time !
Each holiday, you decide to make a smart home project. But each holiday, you spend hours on finding an interesting project to do.
Don't worry, I can help you ! Join my community to receive the newest DIY projects periodically.
Promise! No spam, your email is kept private
Step 2: Add a Switch or Sensor in ESPHome
To control a device (like a light), modify your ESPHome configuration. For example, to add a GPIO-controlled relay:
switch:
  - platform: gpio
    name: "Living Room Light"
    pin: GPIO23
Flash the updated firmware, and the switch will appear in Home Assistant’s Entities list.
Step 3: Expose the Device to Google Assistant
Now, let’s make the device voice-controllable via Google Assistant.
Enable Google Assistant Integration in Home Assistant
- Go to Settings > Devices & Services.
- Click + Add Integration and search for Google Assistant.
- Follow the prompts to link your Google account and select the devices to expose. Choose your
living_room_lightswitch.
Sync Devices with Google
- Open the Google Home app on your phone.
- Tap Devices > Add > Works with Google.
- Search for Home Assistant and link your account.
- Your ESP32-controlled switch should now appear in Google Home!
Step 4: Test Voice Commands
Try saying, “Hey Google, turn on the living room light." If all goes well, your ESP32 will respond instantly. If not, don’t panic—check the troubleshooting section below.
Troubleshooting Common Issues
Device Not Appearing in Google Home
- Ensure the device is exposed in Home Assistant’s Google Assistant integration.
- Re-sync devices in the Google Home app by saying, “Hey Google, sync my devices."
ESP32 Not Connecting to Wi-Fi
- Double-check your Wi-Fi credentials in the ESPHome configuration.
- Ensure your router isn’t blocking the ESP32 (some routers restrict IoT devices).
Voice Command Delays
- This is often due to network latency. Try moving your ESP32 closer to the router or using a Wi-Fi extender.
Expanding Your Setup
Once you’ve mastered the basics, consider these enhancements:
- Add More Devices: Use ESP32 to control fans, thermostats, or even coffee makers.
- Create Automations: Combine voice commands with motion sensors for hands-free lighting.
- Explore ESPHome’s Advanced Features: Like Bluetooth proxies or energy monitoring.
FAQ
Can I use Alexa instead of Google Assistant?
Yes! Home Assistant also supports Alexa integration. Follow a similar process but select the Alexa integration instead.
Why isn’t my ESP32 showing up in Home Assistant?
Ensure the api: section is included in your ESPHome config and that the device is powered and connected to Wi-Fi.
Can I control multiple ESP32 devices?
Absolutely! Repeat the process for each device, giving each a unique name in ESPHome.
And there you have it—a voice-controlled smart home powered by ESP32 and Home Assistant. Now, go forth and automate laziness like a pro! For more projects, check out my guide on Zigbee2MQTT or Grafana alerting.