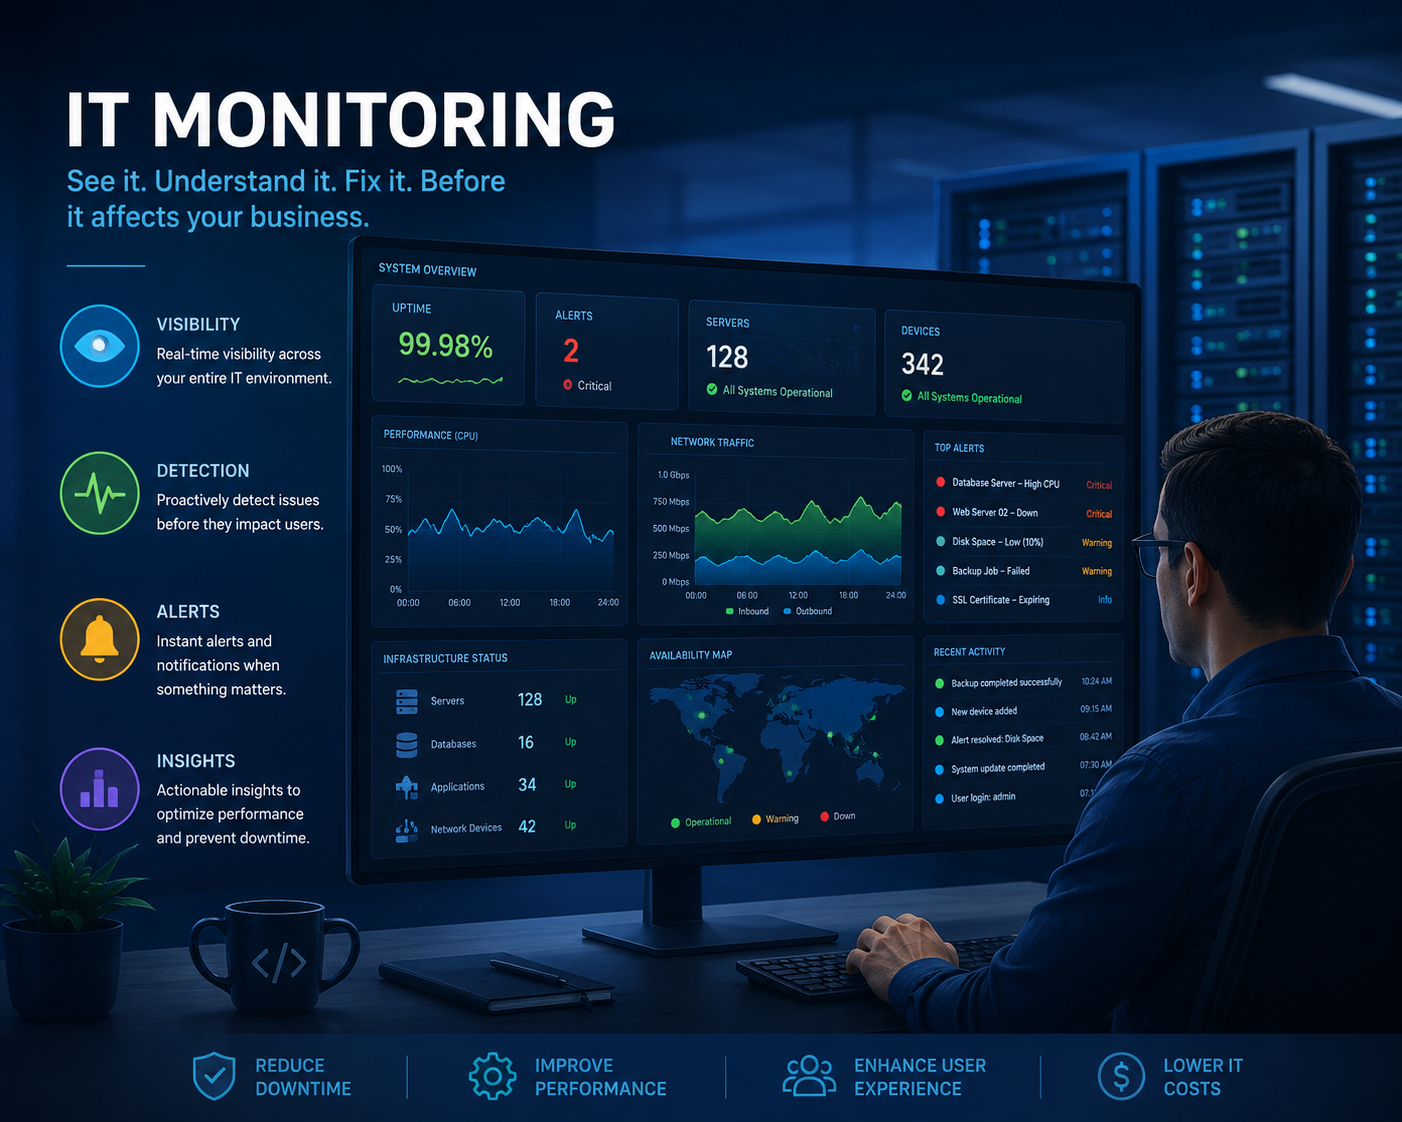
How to Build Your Infrastructure Monitoring in 2026
Every year I get asked the same question by teams starting from scratch: “we have Grafana, we have some dashboards, why do we still get paged for things we didn’t see coming?” Most of the time, the answer isn’t a missing tool. It’s a missing method. Teams jump straight to “let’s install Prometheus” or “let’s buy a SaaS observability platform” before answering a much simpler question: what does “healthy” actually mean for this business?
I’ve built infrastructure monitoring from the ground up for several companies now, and I keep coming back to the same seven steps. This article is that playbook, the way I actually apply it in 2026.
Requirements
Before you touch any tool, you need:
- A clear list of the critical business flows your system supports (payments, checkouts, logins, API calls…)
- Buy-in from the team on what “acceptable” looks like for those flows
- A telemetry stack that can handle metrics, logs, and traces (I’ll give you mine below)
If you get stuck at any point: reach out, I’m happy to help you think through your specific setup.
1. Start with the business SLI/SLO, not with the tool
This is the step almost everyone skips, and it’s the one that matters the most. Before deciding what to monitor, decide what “working” means for your business.
An SLI (Service Level Indicator) is a metric that reflects user-facing behavior. An SLO (Service Level Objective) is the target you set for that metric over a time window.
Example, if you work for a banking company:
- SLI: the ratio of successful payment authorizations over total payment authorization attempts
- SLO: 99.95% of payment authorizations should succeed over a rolling 30-day window
That single sentence changes everything downstream. It tells you:
- Which service is “tier 0” (payment authorization service)
- What your error budget is (0.05% of failed authorizations per month)
- What should page someone at 3am, and what can wait for Monday morning
Do this exercise for every critical business flow before writing a single scrape config. If you skip it, you’ll end up monitoring infrastructure CPU graphs while your actual business metric silently burns through its error budget.
2. Know what to monitor, then pick your stack
Once your SLIs/SLOs are defined, list what you actually need visibility into to measure them:
- Infrastructure: nodes, Kubernetes clusters, network, databases, message queues
- Applications: HTTP servers, HTTP clients, background jobs, gRPC services
- Business layer: the actual events tied to your SLI (a payment authorization call, a checkout event…)
Only now do you pick the tech stack, because now you know what it needs to support. Here’s the generic stack I use on most projects:
| Pillar | Tool | Role |
|---|---|---|
| Metrics | VictoriaMetrics | Long-term, cost-efficient metrics storage (Prometheus-compatible) |
| Metrics agent | vmagent | Scraping and remote-writing metrics |
| Logs | Loki | Log aggregation, indexed by labels not full text |
| Logs & traces ingestion | OpenTelemetry Collector | Vendor-neutral receiver/processor/exporter pipeline |
| Traces | Jaeger | Distributed trace storage and visualization |
The three pillars, and what each is actually for
It’s worth being explicit about this, because teams often use the wrong pillar to answer the wrong question:
- Metrics: aggregated, cheap to store, great for trending and alerting. They answer “what” and “how much” (error rate is 2%, p99 latency is 800ms).
- Logs: high cardinality, detailed, expensive to store at full fidelity. They answer “why” during an investigation (this specific request failed because of X).
- Traces: the causal chain across services. They answer “where” in a distributed call the latency or error actually happened.
None of the three replaces the others. Metrics tell you something is wrong, traces tell you where, logs tell you why.
3. Implement and scrape, favor auto-instrumentation
Now you build the pipeline. My rule of thumb: instrument automatically first, add manual instrumentation only where auto-instrumentation doesn’t reach (custom business logic, internal queues, batch jobs).
Use the OpenTelemetry auto-instrumentation libraries for your language. They hook into common frameworks (HTTP servers, HTTP clients, database drivers, gRPC) and emit metrics, traces, and sometimes logs without you writing a single line of instrumentation code.
Example, a Java service auto-instrumented and shipped straight to your collector, no code change required:
java -javaagent:opentelemetry-javaagent.jar \
  -Dotel.service.name=payment-authorization-service \
  -Dotel.exporter.otlp.endpoint=http://otel-collector:4317 \
  -Dotel.metrics.exporter=otlp \
  -Dotel.traces.exporter=otlp \
  -Dotel.logs.exporter=otlp \
  -jar payment-service.jar
On the infrastructure side, vmagent scrapes your Prometheus-format endpoints (node_exporter, kube-state-metrics, cAdvisor, database exporters…):
# vmagent scrape config
scrape_configs:
  - job_name: 'kubernetes-pods'
    kubernetes_sd_configs:
      - role: pod
    relabel_configs:
      - source_labels: [__meta_kubernetes_pod_annotation_prometheus_io_scrape]
        action: keep
        regex: true
4. Build a telemetry pipeline that correlates, not just collects
Collecting metrics, logs, and traces separately gets you three silos, not observability. The fix is enrichment: attach the same standard labels to everything, so you can pivot from a metric to a trace to a log for the exact same request.
I always enforce the OpenTelemetry semantic conventions resource attributes as a baseline on every service:
service.name: the logical service, e.g.payment-authorization-serviceservice.namespace: the domain/team owning it, e.g.paymentsdeployment.environment:production,staging, etc.
Enforce this at the OpenTelemetry Collector level so nothing gets ingested without it:
# otel-collector-config.yaml
processors:
  resource:
    attributes:
      - key: service.namespace
        value: payments
        action: insert
      - key: deployment.environment
        value: production
        action: insert

service:
  pipelines:
    traces:
      receivers: [otlp]
      processors: [resource, batch]
      exporters: [otlp/jaeger]
    metrics:
      receivers: [otlp]
      processors: [resource, batch]
      exporters: [prometheusremotewrite/victoriametrics]
    logs:
      receivers: [otlp]
      processors: [resource, batch]
      exporters: [loki]
With these three labels shared across your metrics, logs, and traces, you can go from “error rate spiked on payment-authorization-service in production” straight to the matching traces and logs, without guessing.
5. Build a RED dashboard, before anything fancier
Once telemetry is correlated by service_name and service_namespace, build one dashboard before all others: the RED dashboard (Rate, Errors, Duration).
Apply it to three things per service:
- HTTP server requests (inbound traffic)
- HTTP client requests (outbound calls to dependencies)
- Span metrics (generated from traces, gives you RED per operation, not just per HTTP route)
Example PromQL for the “R” and “E” of a service, using OpenTelemetry’s standard http.server.request.duration metric:
# Request rate
sum(rate(http_server_request_duration_seconds_count{service_namespace="payments"}[5m])) by (service_name)

# Error rate (%)
sum(rate(http_server_request_duration_seconds_count{service_namespace="payments", http_response_status_code=~"5.."}[5m])) by (service_name)
/
sum(rate(http_server_request_duration_seconds_count{service_namespace="payments"}[5m])) by (service_name)
* 100

# Duration (p99)
histogram_quantile(0.99, sum(rate(http_server_request_duration_seconds_bucket{service_namespace="payments"}[5m])) by (service_name, le))
This one dashboard, applied consistently across every service, gives you a clear signal of application health over time before you’ve written a single custom panel. Everything else (business dashboards, infra dashboards, deep-dive panels) builds on top of it.
6. Alert on symptoms, not noise, and use multi-window burn rate
This is where most on-call setups fail. Two rules I don’t compromise on:
- Alert on actionable conditions, not informative ones. “CPU is at 80%” is informative. “The payment SLO error budget will be exhausted in 2 hours at this burn rate” is actionable. If an alert doesn’t require a human to do something right now, it shouldn’t page anyone; it belongs on a dashboard.
- Use multi-window, multi-burn-rate alerting so you can tell a critical incident from something that can wait until tomorrow. This is straight out of the Google SRE book’s alerting chapter, and it’s the single highest-leverage thing you can implement for on-call sanity.
The idea: page immediately only when the error budget is burning fast enough that waiting would breach the SLO. Use a short window to catch fast burns and a longer window to confirm it isn’t a blip, and use a slower threshold for tickets instead of pages.
Back to our banking example: SLO is 99.95% success over 30 days, meaning an error budget of 0.05%.
# VictoriaMetrics / Prometheus alerting rules
groups:
  - name: payment-authorization-slo
    rules:
      # Fast burn: page immediately.
      # Burning 14.4x the allowed rate would exhaust the 30-day budget in ~2 days.
      # Confirmed over both a 5m and 1h window to avoid paging on a blip.
      - alert: PaymentAuthSLOFastBurn
        expr: |
          (
            sum(rate(payment_authorization_failed_total{service_namespace="payments"}[5m]))
            /
            sum(rate(payment_authorization_total{service_namespace="payments"}[5m]))
          ) > (14.4 * 0.0005)
          and
          (
            sum(rate(payment_authorization_failed_total{service_namespace="payments"}[1h]))
            /
            sum(rate(payment_authorization_total{service_namespace="payments"}[1h]))
          ) > (14.4 * 0.0005)
        labels:
          severity: page
        annotations:
          summary: "Payment authorization burning error budget fast, will breach SLO in ~2 days if it continues"

      # Slow burn: create a ticket, review during business hours.
      # Burning 3x the allowed rate would exhaust the budget in ~10 days.
      - alert: PaymentAuthSLOSlowBurn
        expr: |
          (
            sum(rate(payment_authorization_failed_total{service_namespace="payments"}[1h]))
            /
            sum(rate(payment_authorization_total{service_namespace="payments"}[1h]))
          ) > (3 * 0.0005)
          and
          (
            sum(rate(payment_authorization_failed_total{service_namespace="payments"}[6h]))
            /
            sum(rate(payment_authorization_total{service_namespace="payments"}[6h]))
          ) > (3 * 0.0005)
        labels:
          severity: ticket
        annotations:
          summary: "Payment authorization error budget burning steadily, investigate this week"
What this buys you on-call:
- A fast, confirmed burn pages someone at 3am, because at that rate you’ll breach the monthly SLO within days.
- A slow burn opens a ticket instead of paging, because at that rate you have days to weeks before the budget is exhausted.
This is the difference between an on-call rotation that burns people out on noise, and one that pages only when it truly matters.
7. You now have the method, not just the tools
At this point you have: business-defined SLIs/SLOs, a stack chosen because it fits what you need to monitor, auto-instrumented metrics/logs/traces, a correlated telemetry pipeline via standard labels, a RED dashboard per service, and burn-rate alerting that tells critical from “can wait.”
That’s not a finished monitoring setup, it’s a solid foundation you can build on: business dashboards, capacity planning, chaos testing against your SLOs, whatever comes next for your organization.
Conclusion
If this was helpful, leave a comment and tell me how your monitoring setup looks today. If you’d like help implementing any of these steps for your specific stack, I’m happy to walk through it with you.
I wish you calm on-call shifts!
Building something like this in production?
I help teams turn setups like this into reliable, monitored infrastructure.
Get a free consulting callGet my monitoring stack checklist
The exact checklist I use when setting up observability for a new team. No spam, unsubscribe anytime.