Esphome Tutorial: for 4$ monitor your home temperature with esp32 and xiaomi mijia
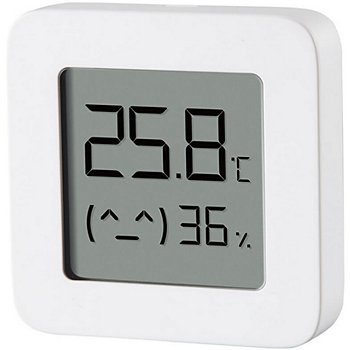
We live in a world where everything is connected. One day, I wanted to know the temperature of my house when I’m outside to check if the heating regulator is working or not. Already having a bluetooth Xiaomi Mijia lywsd03mmc thermometer, I was looking for something cheap and tiny to do connect to the thermometer and do the job.
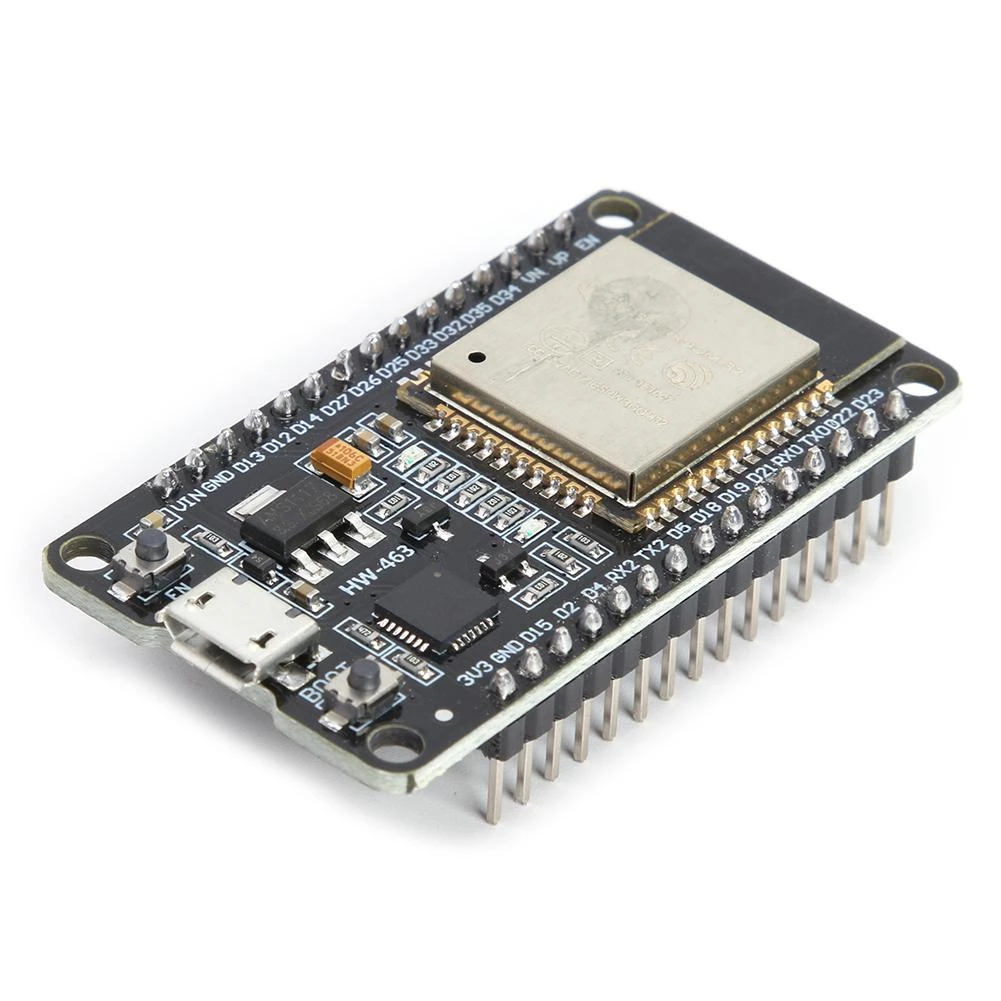
I did some research and found a chip called ESP32. This chip has integrated bluetooth and WIFI. It is very tiny (3cmx6cm). Also, very easy to program using some known tools like arduino or esphome. Therefore, I decided to give this a try and I bought it for 4$.
Requirements
Aliexpress:
- ESP32-DevKit board: Buy it here
- Xiaomi Mijia thermometer: Buy it here
If you find any problem during this tutorial: Please leave a commment and I will reply very soon!
ESPhome introduction
I am not a big fan of hardware programming and flashing… So I’ve looked for existing tools that configure easily ESP32 to connect to the Xiaomi mijia. ESPhome was one the easiest tool because it requires no code, but only configuration is need. ESPhome is a tool, with a set of predefined modules and configuration, that can generate the wanted code for esp32 chip. Example:
- Connect to a Xiaomi BLE thermometer
- Measure the temperature using DHT sensor
- Detect the presence of BLE tag
- Turn on/off light
In addition, ESPhome can easily add a webserver to ESP32, configure wifi, update the code Over-The-Air (OTA).
ESPhome configuration
Let’s create the configuration for connecting ESP32 to the Xiaomi Mijia lywsd03mmc. ESPhome is based on yaml configuration. I have provided you already all the project code here
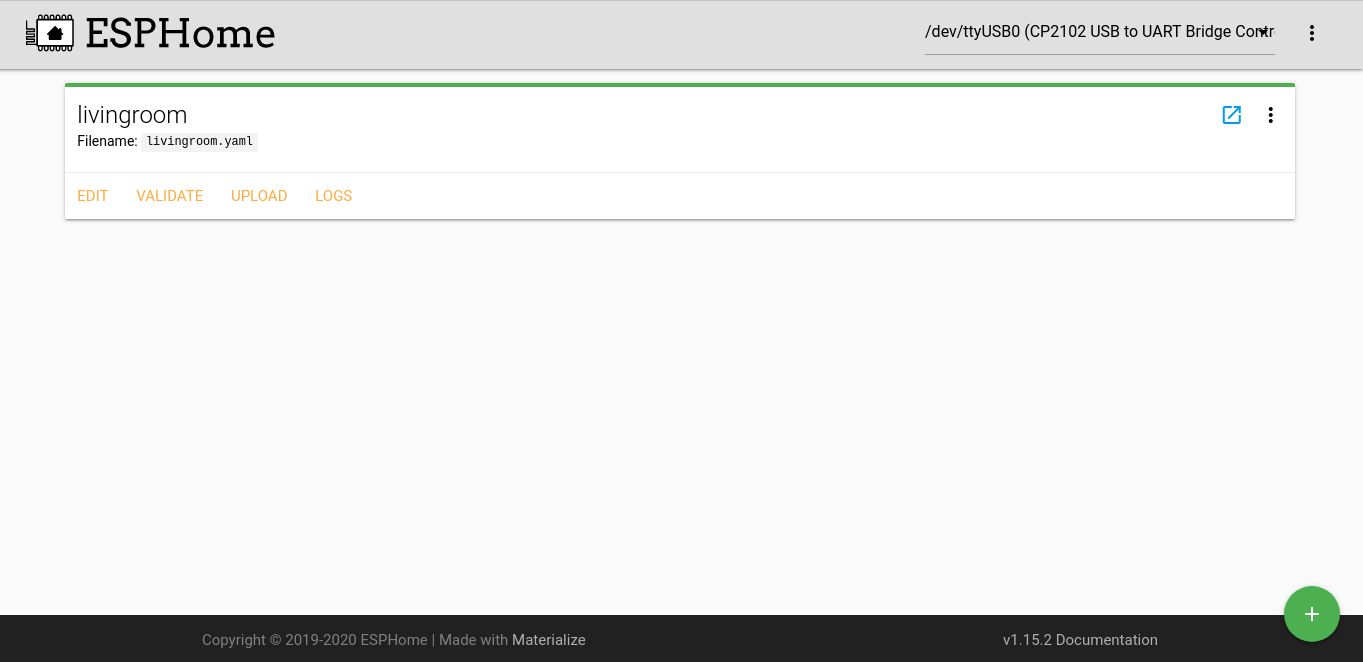
livingroom.yaml file:
esphome:
  name: livingroom
  platform: ESP32
  board: esp32doit-devkit-v1

wifi:
  ssid: "MyWifiName"
  password: "MyWifiPassword"
  # specify address ip to use
  use_address: "192.168.1.20"

# Enable logging
logger:

# Enable Home Assistant API
api:

# Add webserver on port 80
web_server:
  port: 80

# Enable update Over-The-Air
ota:

# Enable Bluetooth scanning for this ESP32
esp32_ble_tracker:

sensor:
  - platform: xiaomi_lywsd03mmc
    mac_address: XX:XX:XX:XX:XX:XX
    bindkey: "XXXXXXXXXXXXXXXXXXXXXXXXXXXXXXXX"
    temperature:
      name: "LYWSD03MMC Temperature"
    humidity:
      name: "LYWSD03MMC Humidity"
    battery_level:
      name: "LYWSD03MMC Battery Level"

# Show the status of ESP32
binary_sensor:
  - platform: status
    name: "Living Room Status"
Stop wasting your time !
Each holiday, you decide to make a smart home project. But each holiday, you spend hours on finding an interesting project to do.
Don't worry, I can help you ! Join my community to receive the newest DIY projects periodically.
Promise! No spam, your email is kept private
If you read at the configuration above, you can notice how basic and clear it is. Only 2 fields are to be defined : mac_address and bindkey of the xiaomi_lywsd03mmc.
Find Xiaomi Mijia information
In order to connect to the thermomter, we should provide its bluetooth mac address. But, the Xiaomi LYWSD03MMC send crypted data, using a bindkey that we should provide too.
Finding Mac Address
Find the MAC address using the bluetoothctl command:
omar@mypc ~ $ bluetoothctl scan on
Discovery started
...
[NEW] Device XX:XX:XX:XX:XX:XX LYWSD03MMC
....
Find the bindkey
There is many ways to get a bindkey.
- The first one is to follow the ESPhome instruction. (I had some problems with Android 11 and didn’t work)
- Use a tool that I used and worked perfectly:
- On your
mobile, go to https://atc1441.github.io/TelinkFlasher.html - Enable bluetooth
- Click on
connectat the top of page - A list of bluetooth nearby devices will apear, click on your LYWSD03MMC device
- Once connected, click on
Do Activation - Wait few seconds, and then you should see
Mi TokenandMi Bind Keyfilled.
- On your
Now go back to the yaml configuration and fill the mac_address and bindkey.
If you like this tutorial, please give me support by subscribing to my Youtube channel my youtube channel
Flash the ESP32 with the configuration above
Run ESPhome using docker
Now that we have a correct configuration, let’s flash the ESP32. Connect the chip to your computer using USB cable. I’ve used ESPhome using docker compose.
Create a directory for your project. In this directory, add the following docker-compose.yaml file. Also create a directory called config inside it.
In this config directory add the livingroom.yaml that we have defined before.
The files tree should look like this.
| myproject
| -- docker-compose.yaml
| -- config
| |-- livingroom.yaml
Here is the docker-compose.yaml file.
# docker-compose.yaml file
version: "3.5"

services:
  esphome:
    image: esphome/esphome
    container_name: esphome
    ports:
      - 6052:6052
    volumes:
      # HERE we will add the livingroom.yaml
      - ./config:/config
    network_mode: host
    # Important to flash using USB
    devices:
      - /dev/ttyUSB0:/dev/ttyUSB0
Run the ESPhome using the command docker-compose up -d
Flash the configuration
Now that your ESPHome is running, go to http://localhost:6052. You should see an interface with livingroom item appearing.
On the top right, click on the select menu and choose USB for the first flash.
Then, click on Validate to check that your structure is ok and Upload to run the flash.
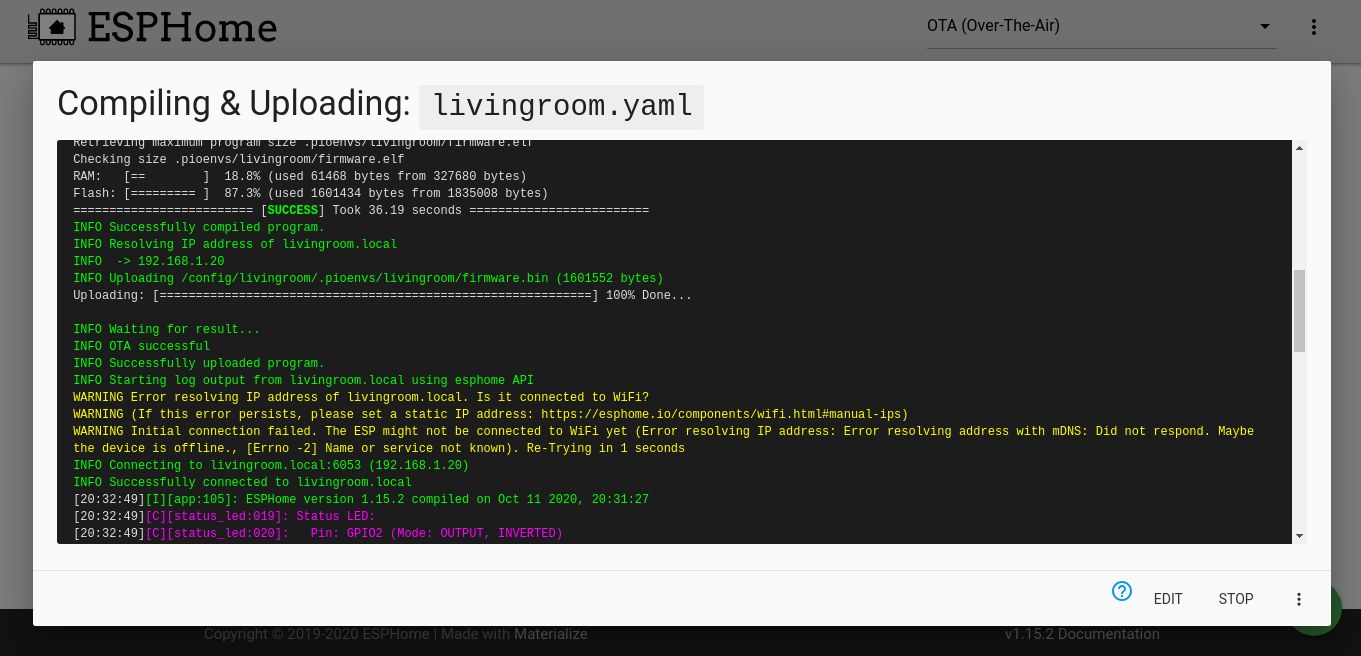
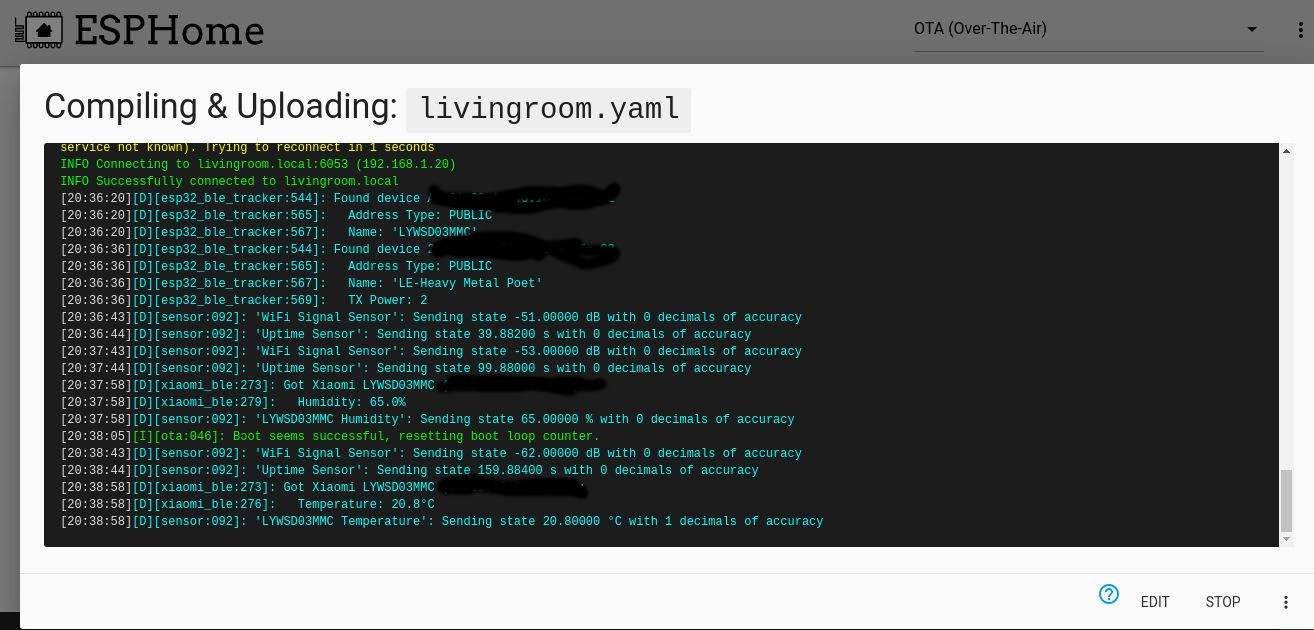
If all is successful, you will see a log that looks like the photo above.
You can read the logs and wait until you see that humidity and temperature.
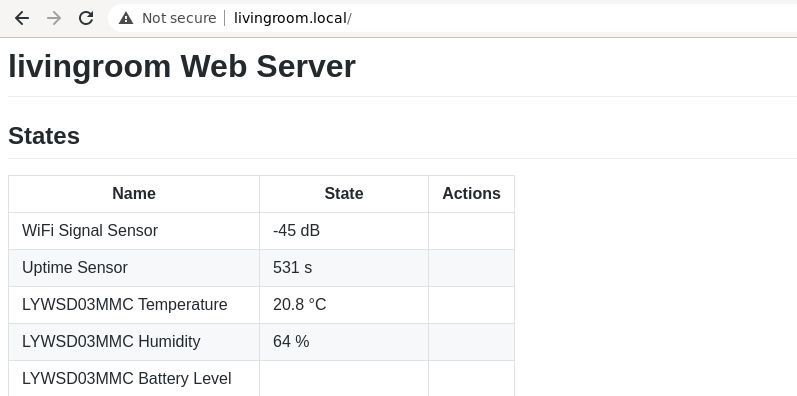
Otherwise, go to http://livingroom.local/ to see a webpage with the requested information.
UPDATE Home asssistant integration
I have wrote a new article on how to install home assistant and how to configure it
Conclusion
If this tutorial was helpful, please leave a comment and tell me your opinion. In the next tutorial I will show you how to access the temperature data when you are outdoor.
I wish you good luck with ESP32!