HomeAssistant Air Quality Monitoring: Why PMS5003 with ESP32 is the Best Combo for 2025
Ever wondered why your allergies act up indoors or why that mysterious “musty smell” lingers? I did—until I built my own air quality monitor using a PMS5003 sensor and ESP32. In 2025, with wildfires, pollen, and urban pollution on the rise, monitoring air quality isn’t just a luxury—it’s a necessity. Here’s why this combo is unbeatable and how to set it up with HomeAssistant.
Why PMS5003 + ESP32?
- Accuracy: The PMS5003 laser particle sensor detects PM1.0, PM2.5, and PM10 with lab-grade precision.
- Cost-Effective: At under $30, it’s cheaper than commercial monitors like Awair or PurpleAir.
- Local Control: No cloud dependency—data stays in your HomeAssistant instance.
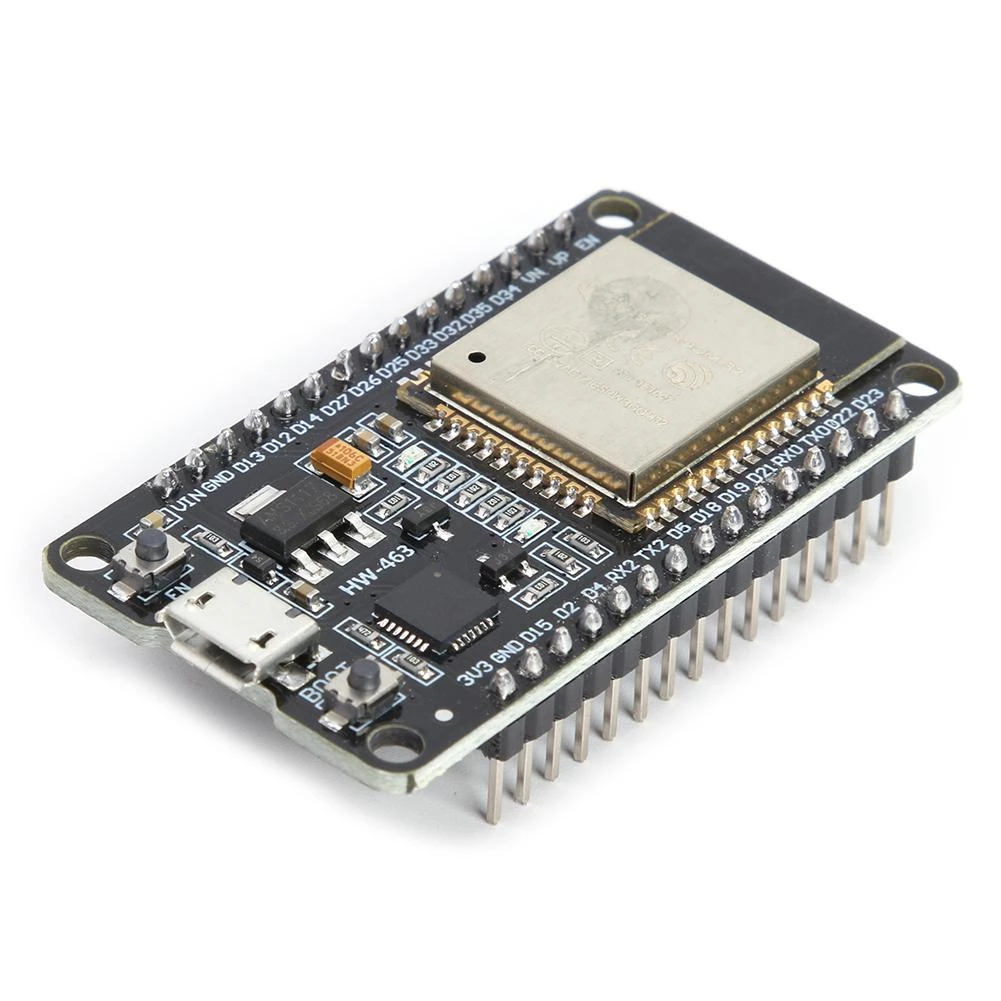
- ESP32’s Superpowers: Wi-Fi, Bluetooth, and enough GPIO pins to make any tinkerer happy.
Materials You’ll Need
- ESP32-DevKit board: Buy it here
- Air quality PMS5003 Sensor: Buy it here
Step 1: Wiring the PMS5003 to ESP32
The PMS5003 communicates via UART, so connect it like this:
| PMS5003 Pin | ESP32 Pin |
|---|---|
| VCC (5V) | 5V |
| GND | GND |
| RX | TX (GPIO1) |
| TX | RX (GPIO3) |
Gotcha Alert: The PMS5003’s TX goes to the ESP32’s RX, and vice versa. Mixing these up is the #1 cause of “why isn’t this working?!” moments.
Step 2: Flashing ESPHome
I use ESPHome because it’s YAML-based and integrates seamlessly with HomeAssistant.
- Install ESPHome via HomeAssistant Add-Ons or Docker:
docker run -it --net=host -v $(pwd)/config:/config esphome/esphome - Create a new device (
air-monitor.yaml) and paste this config:
esphome:
  name: air-quality-monitor
  platform: ESP32
  board: esp32dev

uart:
  rx_pin: GPIO3
  tx_pin: GPIO1
  baud_rate: 9600

sensor:
  - platform: pmsx003
    pm_1_0:
      name: "PM1.0"
    pm_2_5:
      name: "PM2.5"
    pm_10_0:
      name: "PM10.0"
    update_interval: 60s

wifi:
  ssid: !secret wifi_ssid
  password: !secret wifi_password

api:
  password: !secret api_password

ota:
  password: !secret ota_password
- Flash it:
esphome run air-monitor.yaml
Step 3: HomeAssistant Integration
Once flashed, the device should auto-appear in HomeAssistant. If not:
- Go to Settings > Devices & Services.
- Click Add Integration and search for “ESPHome”.
- Enter the device’s IP or hostname (
air-quality-monitor.local).
Stop wasting your time !
Each holiday, you decide to make a smart home project. But each holiday, you spend hours on finding an interesting project to do.
Don't worry, I can help you ! Join my community to receive the newest DIY projects periodically.
Promise! No spam, your email is kept private
Step 4: Dashboarding & Automation
Now for the fun part—visualizing the data. Here’s my Lovelace card setup:
type: gauge
entity: sensor.pm_2_5
name: PM2.5
segments:
  - from: 0
    to: 12
    color: green
    label: Good
  - from: 12
    to: 35
    color: yellow
    label: Moderate
  - from: 35
    color: red
    label: Unhealthy
Automation Idea: Trigger air purifiers when PM2.5 > 20 µg/m³:
alias: "Auto-Purify if PM2.5 High"
trigger:
  platform: numeric_state
  entity_id: sensor.pm_2_5
  above: 20
action:
  - service: switch.turn_on
    target:
      entity_id: switch.air_purifier
Troubleshooting
- No Data? Check UART wiring and baud rate (must be 9600 for PMS5003).
- ESP32 Not Connecting? Ensure Wi-Fi credentials are correct in
secrets.yaml. - Spike Readings? Blow gently on the sensor—it’s sensitive to sudden airflow changes.
FAQ
Q: Can I use an ESP8266 instead of ESP32?
A: Yes, but ESP32’s dual-core processor handles UART more reliably.
Q: How often should I calibrate the PMS5003?
A: Never—it’s factory-calibrated. Just keep the laser lens clean.
Q: What’s the ideal PM2.5 level?
A: Under 12 µg/m³ (WHO guidelines).
Next Steps
- Add CO₂ Monitoring: Pair with an SCD40 for a full air quality suite.
- Grafana Dashboards: For historical trends, follow my Grafana guide.
Building this saved me from a mold problem I didn’t know I had. Now, my house breathes better—and so do I. Happy tinkering!
Building something like this in production?
I help teams turn setups like this into reliable, monitored infrastructure.
Get a free consulting callGet my monitoring stack checklist
The exact checklist I use when setting up observability for a new team. No spam, unsubscribe anytime.