Build a Smart Thermostat with ESP32, Home Assistant, and Relays
Build a Smart Thermostat with ESP32 and Home Assistant Using Relay and Sensors
Ever wanted to ditch your clunky old thermostat for a DIY smart version that integrates seamlessly with Home Assistant? I did—and after a few weekends of tinkering (and a couple of fried relays), I built a reliable ESP32-based smart thermostat. Here’s how you can too.
Why Build a DIY Smart Thermostat?
Commercial smart thermostats are great, but they often come with limitations: proprietary ecosystems, cloud dependencies, or lack of customization. With an ESP32, a relay, and a temperature sensor, you can build a thermostat that’s:
- Local-first: No cloud required.
- Fully customizable: Tweak the logic to fit your needs.
- Cheap: Under $30 for most setups.
What You’ll Need
Hardware
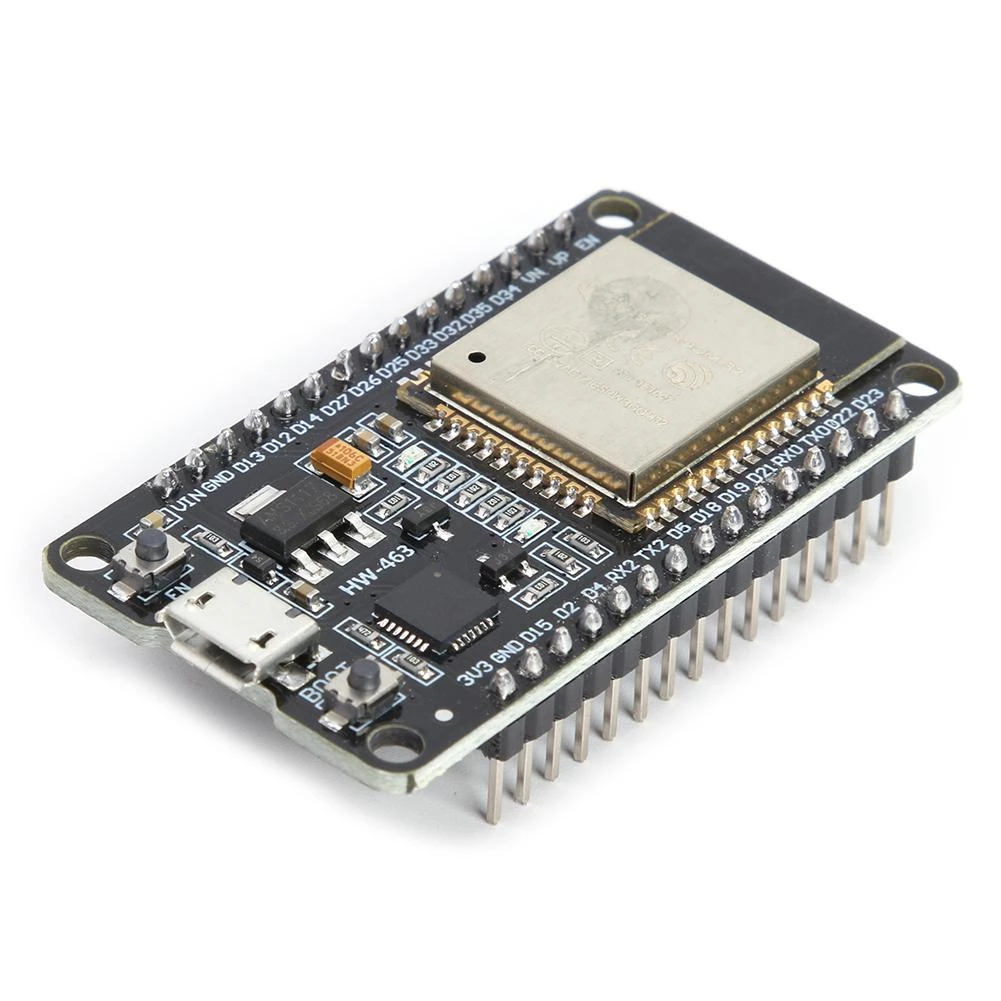
- ESP32-DevKit board: Buy it here
- DHT22 Temperature sensor: Buy it here
- 5V Relay Module: Buy it here – To control your HVAC system.
- Breadboard & Jumper Wires – For prototyping.
- USB Cable – To flash the ESP32.
- Resistors (4.7KΩ for DS18B20, 10KΩ for DHT22).
Software
- Home Assistant – For automation and dashboards.
- ESPHome – To program the ESP32 easily.
- PlatformIO or Arduino IDE – Optional if you prefer manual coding.
Step 1: Wiring the Hardware
Circuit Diagram

Connect the Temperature Sensor:
- DS18B20:
- VCC → ESP32 3.3V
- GND → ESP32 GND
- DATA → GPIO4 (with 4.7KΩ pull-up resistor)
- DHT22:
- Similar, but use a 10KΩ resistor.
- DS18B20:
Connect the Relay:
- IN → GPIO5 (or any free pin)
- VCC → ESP32 5V
- GND → ESP32 GND
Power the ESP32 via USB (or a 5V power supply if deployed).
Step 2: Flashing the ESP32 with ESPHome
ESPHome makes this ridiculously easy. Here’s the configuration:
# thermostat.yaml
esphome:
  name: esp32-thermostat
  platform: ESP32
  board: esp32dev

wifi:
  ssid: "YOUR_WIFI_SSID"
  password: "YOUR_WIFI_PASSWORD"

# Enable logging and OTA updates
logger:
ota:

# DS18B20 Sensor
sensor:
  - platform: dallas
    address: 0xYOUR_SENSOR_ADDRESS # Run `esphome logs` to find this
    name: "Living Room Temperature"
    accuracy_decimals: 1

# Relay Output
switch:
  - platform: gpio
    pin: GPIO5
    name: "HVAC Relay"
    id: hvac_relay

# Thermostat Logic (PID Control)
climate:
  - platform: thermostat
    name: "Living Room Thermostat"
    sensor: living_room_temperature
    default_target_temperature: 21.0
    heat_output: hvac_relay
Flash it via USB:
esphome run thermostat.yaml
×Stop wasting your time !
Each holiday, you decide to make a smart home
project. But each holiday, you spend hours on finding an interesting
project to do.
Don't worry, I can help you ! Join my community to
receive the newest DIY projects periodically.
Promise! No spam, your email is kept private
Stop wasting your time !
Each holiday, you decide to make a smart home project. But each holiday, you spend hours on finding an interesting project to do.
Don't worry, I can help you ! Join my community to receive the newest DIY projects periodically.
Promise! No spam, your email is kept private
Step 3: Integrating with Home Assistant
Auto-Discovery: If your Home Assistant is on the same network, the thermostat should appear automatically.
Manual Setup (if needed):
# configuration.yaml
climate:
  - platform: mqtt
    name: "Living Room Thermostat"
    current_temperature_topic: "esp32-thermostat/sensor/temperature/state"
    temperature_command_topic: "esp32-thermostat/climate/thermostat/target_temperature"
Create a Dashboard:
- Use Lovelace to add a thermostat card.
- Set up automations (e.g., turn off when no one’s home).
Troubleshooting Tips
Problem: Temperature Readings Are Wrong
- Fix: Check the sensor wiring. DS18B20s are fussy about pull-up resistors.
Problem: Relay Doesn’t Toggle
- Fix: Ensure the ESP32’s GPIO pin matches your YAML config. Test with a simple
switch.turn_onservice call.
Problem: Home Assistant Doesn’t See the Device
- Fix: Restart ESPHome and check your Wi-Fi credentials.
Going Further
- Add More Sensors: Humidity (DHT22) or motion detection (PIR) for occupancy-based control.
- Multi-Zone Control: Use multiple ESP32s for different rooms.
- Energy Monitoring: Integrate a smart plug to track HVAC usage.
FAQ
Q: Can I use a different microcontroller like ESP8266?
A: Yes, but ESP32 is recommended for better stability and GPIO options.
Q: How do I calibrate the temperature sensor?
A: Use a known-good thermometer and adjust offsets in ESPHome.
Q: Is this safe for my HVAC system?
A: Yes, but double-check relay ratings (most handle 10A at 240V).
That’s it! Now you’ve got a DIY smart thermostat that’s as powerful as a Nest but without the subscription fees. For more ESP32 projects, check out my guide on monitoring home temperature with ESP32 and Xiaomi sensors.