Esp32 + 1$ DHT22 temperature sensor
ESPHome is a powerful framework for building IoT devices using ESP8266, ESP32, and other microcontrollers. It allows you to easily configure and control your devices from a web interface. In this tutorial, we will learn how to connect the DHT22 sensor to the ESP32 board using ESPHome. Let’s get started.
Step 1: Install ESPHome
Before we begin, make sure you have installed ESPHome on your computer. Follow the instructions on the ESPHome website to install ESPHome.
Step 2: Requirements
Before starting the tutorial, you should have these components.
Aliexpress:
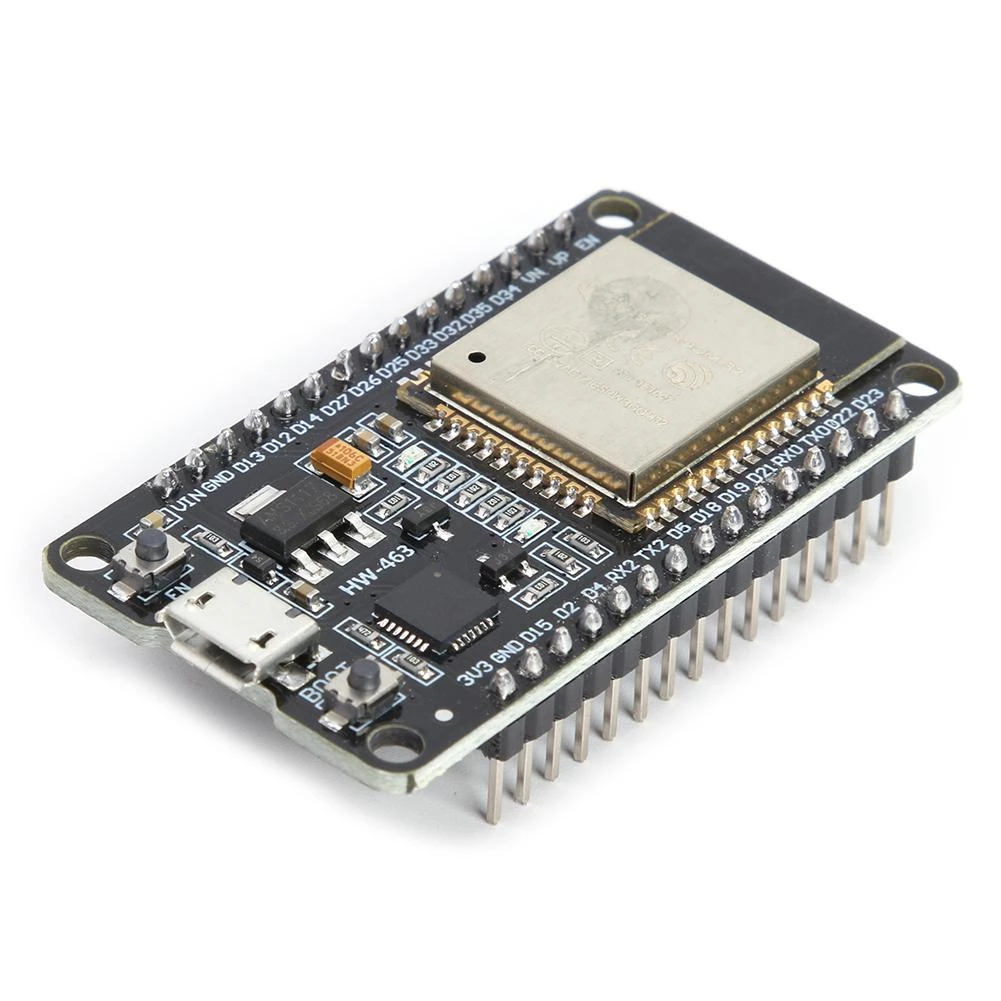
- ESP32-DevKit board: Buy it here
- DHT22 Temperature sensor: Buy it here
Step 3: Connect the DHT22 Sensor to the ESP32 Board
Connect the DHT22 sensor to the ESP32 board using the following wiring diagram:
| DHT22 Sensor | ESP32 Board |
|---|---|
| VCC | 3.3V |
| DATA | GPIO 4 |
| GND | GND |
Note: Make sure to connect the VCC pin of the DHT22 sensor to the 3.3V pin of the ESP32 board, not the 5V pin. The DHT22 sensor works with 3.3V power supply only.
Step 4: Create an ESPHome Configuration File
Create a new ESPHome configuration file by following these steps:
- Open the ESPHome dashboard.
- Click on the “Create new node” button.
- Give your node a name and select “ESP32” as the device type.
- Choose a Wi-Fi network and enter the Wi-Fi credentials.
- Click on “Create”.
- This will create a new ESPHome configuration file for your ESP32 board.
Step 5: Configure the DHT22 Sensor
Add the following code to your ESPHome configuration file to configure the DHT22 sensor:
sensor:
  - platform: dht
    pin: GPIO4
    temperature:
      name: "DHT22 Temperature"
      unit_of_measurement: "°C"
      accuracy_decimals: 1
    humidity:
      name: "DHT22 Humidity"
      unit_of_measurement: "%"
      accuracy_decimals: 1
This code sets up the DHT22 sensor on GPIO4 and creates two sensors for temperature and humidity. You can change the GPIO pin number if you connected the sensor to a different pin.
Step 6: Compile and Upload the Firmware
Click on the “Compile” button in the ESPHome dashboard to compile the firmware. Once the firmware is compiled, click on the “Upload” button to upload the firmware to your ESP32 board.
Stop wasting your time !
Each holiday, you decide to make a smart home project. But each holiday, you spend hours on finding an interesting project to do.
Don't worry, I can help you ! Join my community to receive the newest DIY projects periodically.
Promise! No spam, your email is kept private
Step 7: View the Sensor Readings
Once the firmware is uploaded, the ESP32 board will start sending sensor readings to the ESPHome dashboard. To view the sensor readings, follow these steps:
- Click on the “Devices” tab in the ESPHome dashboard.
- Click on the name of your device.
- Click on the “Logs” tab.
- Scroll down to see the sensor readings.
You should see the temperature and humidity readings from the DHT22 sensor in the logs.
Step 8: Add Automation and Integration
You can use the sensor readings from the DHT22 sensor to trigger automation and integrate with other services. For example, you can use the temperature readings to turn on a fan or heater, or use the humidity readings to turn on a dehumidifier.
To add automation and integration, follow this article to connect esp32 to homeassistant
Conclusion
In this tutorial, we have learned how to connect a DHT22 temperature and humidity sensor to an ESP32 board using ESPHome. We have also learned how to configure the sensor, compile and upload the firmware, and view the sensor readings in the ESPHome dashboard. Finally, we have learned how to add automation and integration to use the sensor readings in other applications. With ESPHome, it is easy to create powerful IoT devices that can be controlled and monitored from a web interface.