Control an IR Remote AC Using ESP32 and Home Assistant
Ever wished your dumb air conditioner could join your smart home party? I did—especially during a heatwave when I realized I’d left the AC on full blast while away. Enter the ESP32, a $5 microcontroller that (with some tinkering) can emulate your AC’s IR remote and integrate it into Home Assistant. Here’s how I did it.
What You’ll Need
- Hardware:
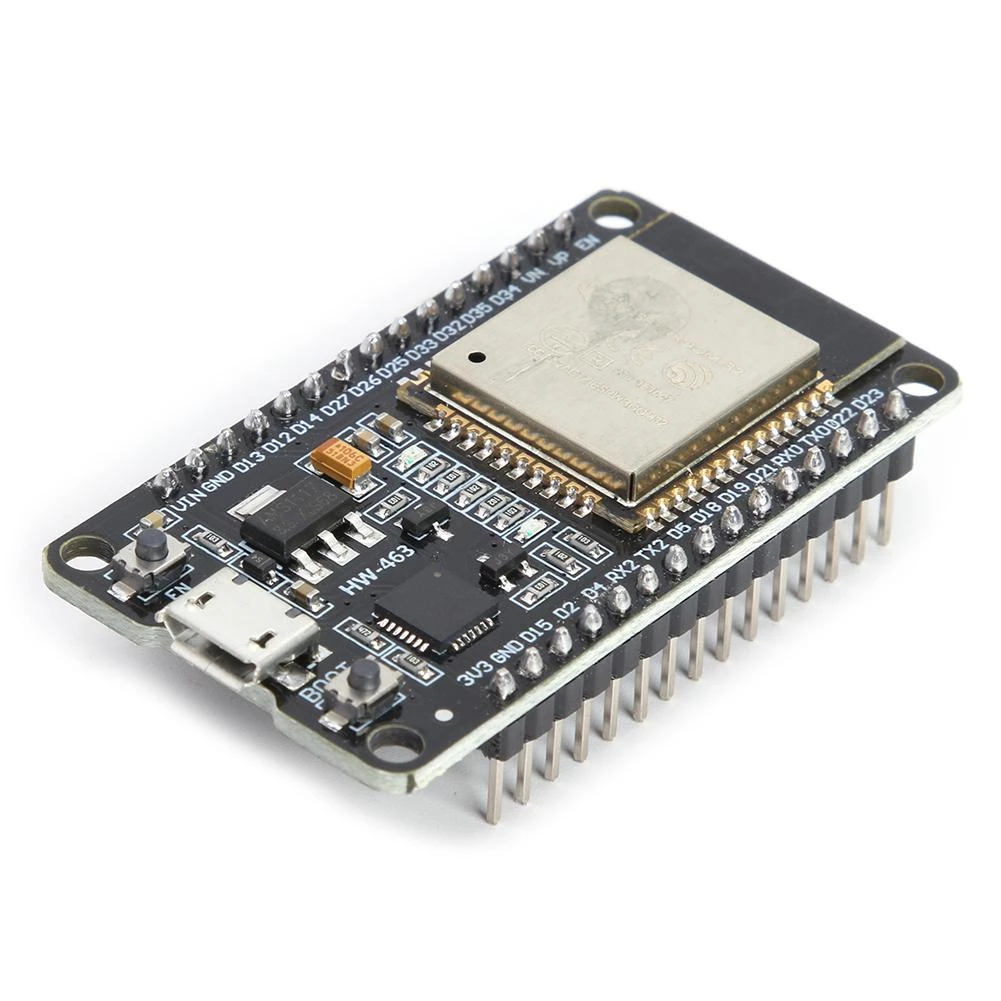
- ESP32-DevKit board: Buy it here
- IR receiver/sender module VS1838B + IR LED: Buy it here
- Breadboard and jumper wires
- USB cable for power/flashing
- Software:
- Home Assistant (installed and running)
- ESPHome (via Home Assistant Add-on)
Step 1: Capture Your AC’s IR Codes
First, we need to “learn” the IR signals from your remote.
- Wire the IR receiver to the ESP32:
- Connect the receiver’s
VCCto3.3V,GNDtoGND, andOUTto GPIO pin 4 (or any free pin).
- Connect the receiver’s
- Flash ESPHome with IR capture:
# Example ESPHome config for IR capture esphome: name: ir_capturer esp32: board: esp32dev wifi: ssid: "YOUR_WIFI" password: "YOUR_PASSWORD" logger: api: remote_receiver: pin: GPIO4 dump: raw - Upload and monitor logs:
- In ESPHome, click Install → Upload Serial. Point your AC remote at the receiver and press a button (e.g., “Power On”).
- You’ll see raw code arrays like:
Received Raw: -1234, 567, -890, ...
- Repeat for all commands (Power Off, Temp ±, Fan Speed, etc.).
Step 2: Emulate IR Signals with ESP32
Now, reconfigure the ESP32 to send IR signals.
- Rewire for IR transmission:
- Replace the receiver with an IR LED: anode to
GPIO5(via a 100Ω resistor), cathode toGND.
- Replace the receiver with an IR LED: anode to
- Update ESPHome config:
remote_transmitter: pin: GPIO5 carrier_duty_percent: 50% climate: - platform: infrared name: "Living Room AC" supports: - heat - cool codes: # Paste raw codes from Step 1 power_on: "raw:-1234,567,-890,..." power_off: "raw:-4567,890,-123,..." cool_28c: "raw:-7890,123,-456,..." - Flash and validate:
- The ESP32 should now respond to Home Assistant climate commands by blasting IR signals at your AC.
Step 3: Integrate with Home Assistant
After flashing:
- Auto-discovery: ESPHome should automatically add the
climateentity to Home Assistant. - Create a dashboard:
# Example Lovelace card type: thermostat entity: climate.living_room_ac - Automations (Bonus!):
# Turn off AC when no one’s home
automation:
  trigger:
    - platform: state
      entity_id: person.your_name
      to: "not_home"
  action:
    - service: climate.turn_off
      target:
        entity_id: climate.living_room_ac
Stop wasting your time !
Each holiday, you decide to make a smart home project. But each holiday, you spend hours on finding an interesting project to do.
Don't worry, I can help you ! Join my community to receive the newest DIY projects periodically.
Promise! No spam, your email is kept private
Troubleshooting
- No IR signal detected?
- Check wiring and GPIO pins.
- Use a phone camera to verify the IR LED is blinking (it’ll show faint purple light).
- Partial commands?
- Ensure raw codes are captured fully. Some remotes send multiple signals per press.
- Home Assistant not seeing the device?
- Restart ESPHome and check
logs→esphomein Home Assistant.
- Restart ESPHome and check
FAQ
Q: Can I control multiple ACs?
A: Yes! Use separate GPIO pins/IR LEDs and duplicate the climate block in ESPHome.
Q: Will this work with any IR AC?
A: Most standard IR-controlled ACs are supported. Exceptions: Proprietary protocols (e.g., some Daikin models).
Q: How’s the range?
A: ~5 meters. For longer distances, use multiple ESP32s or a stronger IR LED.
Next Steps
- Add temperature sensors (like the Xiaomi Mijia) for feedback loops.
- Explore Zigbee2MQTT for other devices (tutorial here).
Now go forth and never sweat over a forgotten AC again! 🎉
Building something like this in production?
I help teams turn setups like this into reliable, monitored infrastructure.
Get a free consulting callGet my monitoring stack checklist
The exact checklist I use when setting up observability for a new team. No spam, unsubscribe anytime.