Automate Your Garden Watering with ESP32 and Home Assistant
Automate Your Garden Watering with ESP32 and Home Assistant
Ever forgotten to water your plants only to find them looking like they’ve been on a desert trek? I have—more times than I’d like to admit. That’s why I built a smart garden watering system using an ESP32, soil moisture sensors, and Home Assistant. Now, my plants get watered automatically, and I get to pretend I’ve got a green thumb. Here’s how you can do it too.
Why Automate Garden Watering?
Manual watering is tedious, inconsistent, and—let’s be honest—easy to forget. Automating it ensures:
- Precision: Water only when needed, based on real-time soil data.
- Efficiency: Save water (and money) by avoiding overwatering.
- Convenience: Control everything remotely via Home Assistant.
What You’ll Need
Here’s the shopping list for this project:
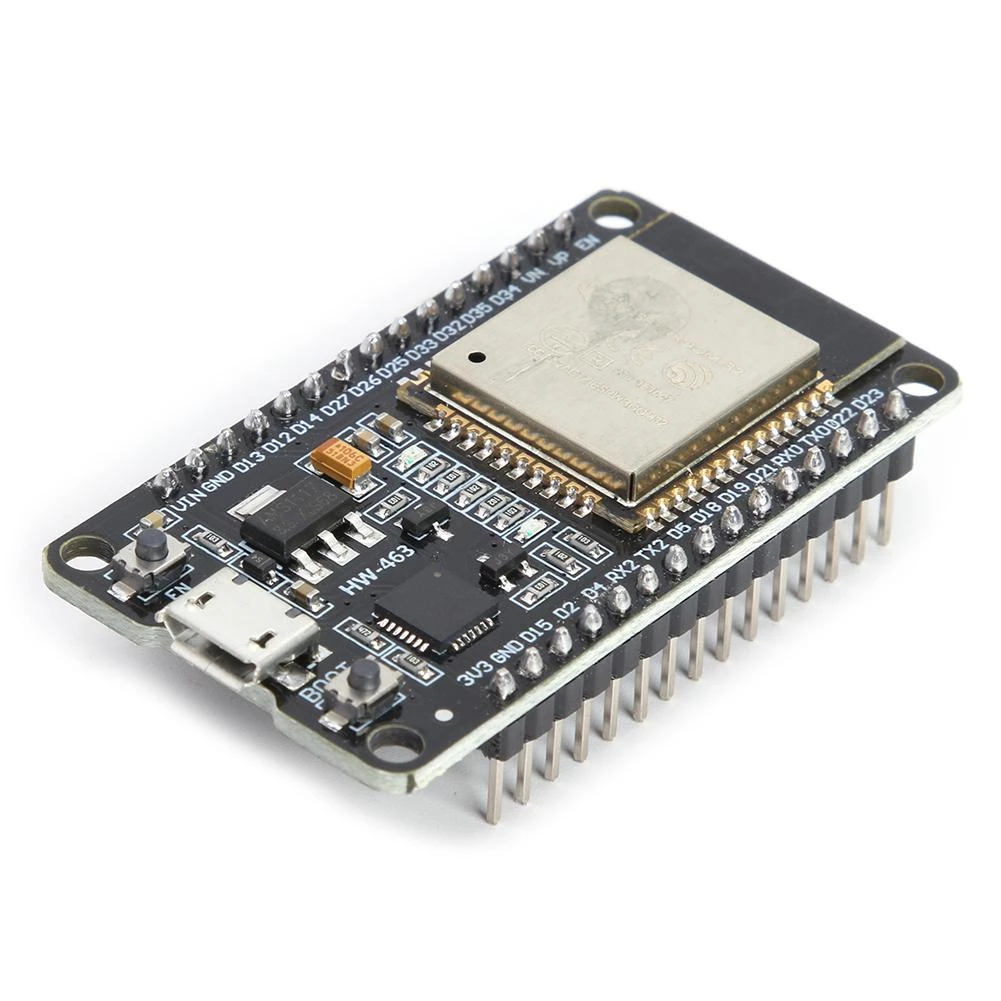
- ESP32-DevKit board: Buy it here
- Capacitive soil moisture sensor: Buy it here
- 12V Small water pump: Buy it here (check compatability with your hose/sprinkler)
- 5V relay module (to control the water pump)
- Micro-USB cable (for power/programming)
- Jumper wires (because everything needs wires)
Step 1: Wiring the ESP32 and Sensors
Let’s connect the hardware. Here’s the wiring diagram:
Soil Moisture Sensor:
VCC→ ESP323.3VGND→ ESP32GNDSIG→ ESP32GPIO34(or any analog-capable pin)
Relay Module:
VCC→ ESP325VGND→ ESP32GNDIN→ ESP32GPIO23(or any digital pin)
Water Pump:
- Connect the pump to the relay’s
COMandNO(Normally Open) terminals. - Power the pump separately with a 12V supply (don’t draw power from the ESP32!).
- Connect the pump to the relay’s
Step 2: Flashing the ESP32 with ESPHome
ESPHome makes it stupidly easy to program the ESP32. Here’s how to set it up:
Install ESPHome:
pip install esphomeCreate a new configuration file (
garden_watering.yaml):esphome: name: garden-watering platform: ESP32 board: esp32dev wifi: ssid: "YOUR_WIFI_SSID" password: "YOUR_WIFI_PASSWORD" # Enable logging and OTA updates logger: ota: # Soil moisture sensor (analog input) sensor: - platform: adc pin: GPIO34 name: "Soil Moisture" update_interval: 60s unit_of_measurement: "%" # Calibrate these values for your sensor! filters: - calibrate_linear: - 0.0 -> 0% - 1.0 -> 100% # Relay to control the pump switch: - platform: gpio pin: GPIO23 name: "Water Pump" id: water_pumpFlash the ESP32:
esphome run garden_watering.yaml
Stop wasting your time !
Each holiday, you decide to make a smart home project. But each holiday, you spend hours on finding an interesting project to do.
Don't worry, I can help you ! Join my community to receive the newest DIY projects periodically.
Promise! No spam, your email is kept private
Step 3: Integrating with Home Assistant
If you’ve set up ESPHome correctly, the ESP32 should auto-discover in Home Assistant. Now, let’s create an automation:
- Go to
Settings > Automations & Scenesand create a new automation. - Trigger: When soil moisture drops below a threshold (e.g., 30%).
- Action: Turn on the water pump for a set duration (e.g., 10 seconds).
Here’s the YAML for the automation (or use the UI):
alias: "Water Plants When Dry"
trigger:
  - platform: numeric_state
    entity_id: sensor.soil_moisture
    below: 30
action:
  - service: switch.turn_on
    target:
      entity_id: switch.water_pump
  - delay: "00:00:10" # Adjust based on your pump’s flow rate
  - service: switch.turn_off
    target:
      entity_id: switch.water_pump
Troubleshooting
Problem: Sensor readings are erratic.
- Fix: Ensure the sensor is firmly placed in the soil (not loose). Calibrate the
filtersin ESPHome.
Problem: Pump doesn’t turn on.
- Fix: Check relay wiring and confirm the ESP32’s GPIO pin matches your YAML config.
Problem: Home Assistant doesn’t detect the ESP32.
- Fix: Verify the ESP32 is connected to WiFi and the
api:section is uncommented in ESPHome.
Going Further
- Add multiple sensors for different garden zones.
- Integrate weather data to skip watering if rain is forecasted (use the Weather integration).
- Monitor water usage with a flow sensor (like this one).
FAQ
Q: Can I use an ESP8266 instead of an ESP32?
A: Yes! The wiring and code are nearly identical, but ESP32 has more analog pins.
Q: How do I power the ESP32 outdoors?
A: Use a waterproof enclosure and a USB power adapter (or a solar panel for off-grid setups).
Q: Why is my soil moisture sensor always at 100%?
A: You probably need to recalibrate the filters in ESPHome. Dry vs. wet soil readings vary by sensor.
Like this project? Check out my other guide on monitoring home temperature with ESP32 for more DIY smart home hacks!